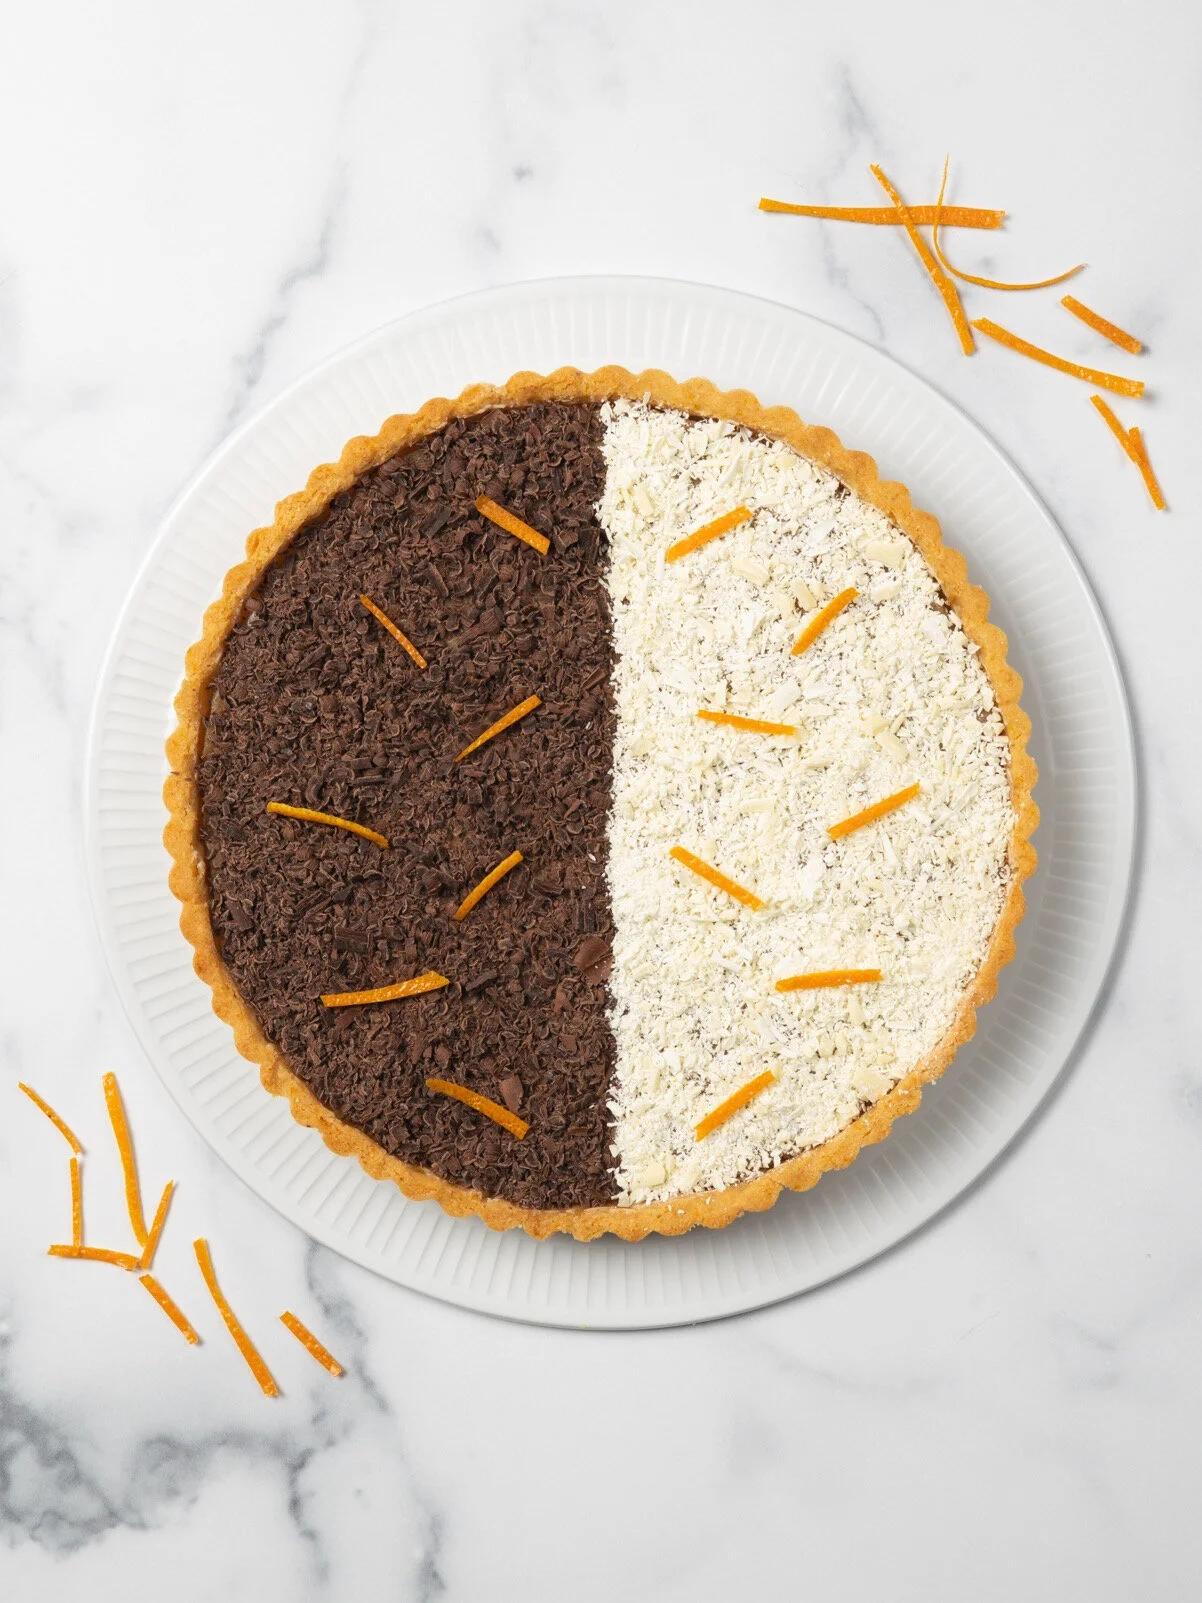
Berries and Cream Tart
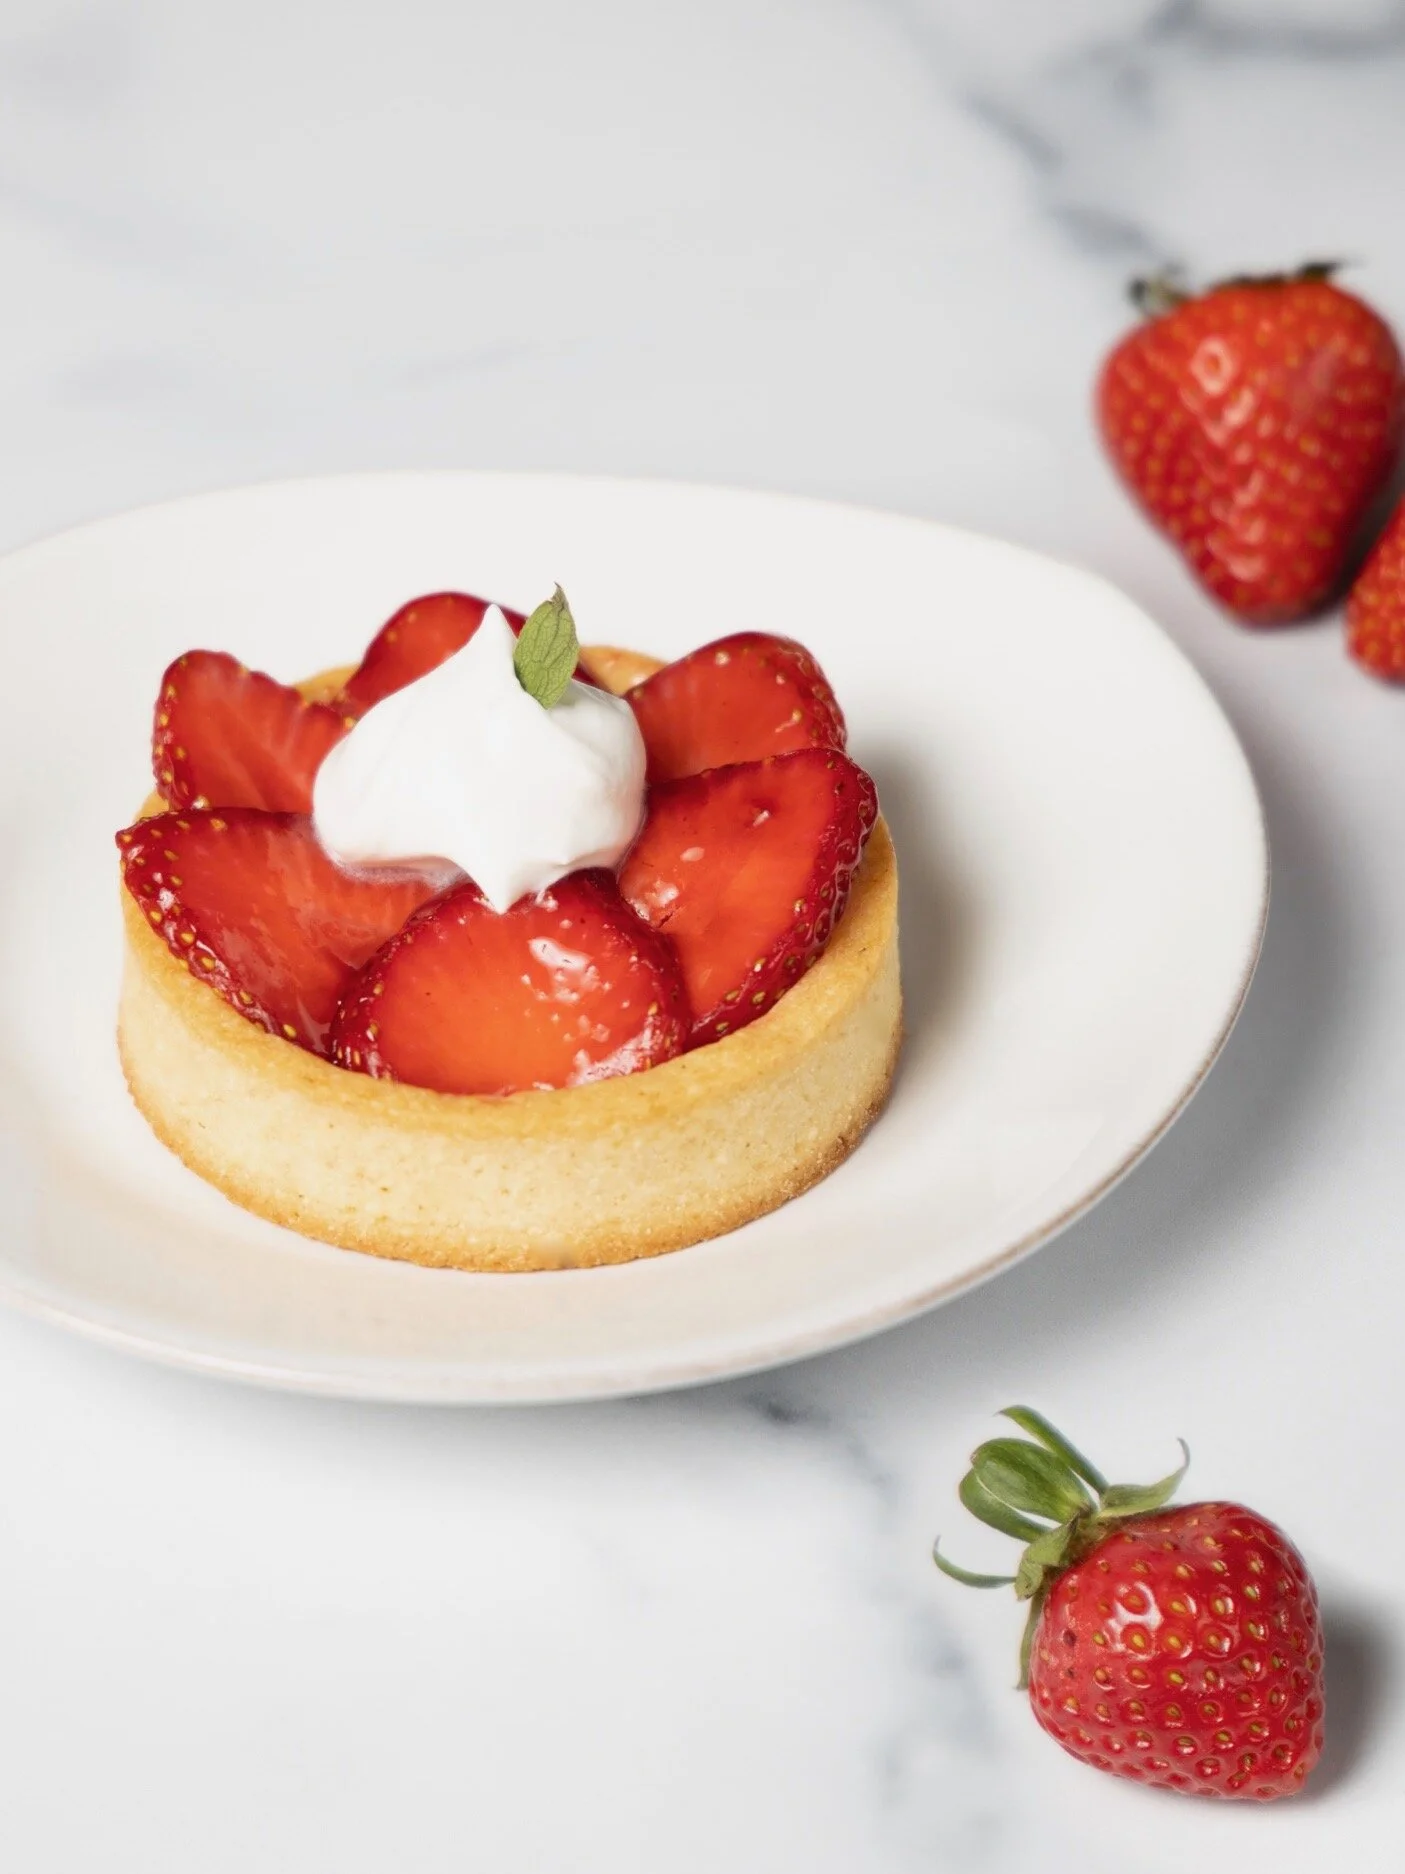
This cool and creamy tart is an easy but elegant dessert that offers a little something for everyone. The sweet berries top a smooth, vanilla, cream cheese filling and the crust is chocolatey and salty and buttery. So good. The color combination makes this perfect for your Fourth of July backyard picnic or any summer party.
It’s also a great make-ahead dessert idea when you’re entertaining and want to spend more time with your guests than in the kitchen. It can be made up to one day in advance, so all you have to do is pile the berries on top just before serving.
You’ll want to use very sweet berries for this dessert, if yours are a little tart, try tossing them in a teaspoon of sugar before topping the tart.
(Photo by Daniel Marks)
Berries and Cream Tart Recipe:
Yield:
1, 9 or 10-inch tart
Special equipment:
Tart pan with a removable bottom
Difficulty:
Easy
Plan ahead:
The tart needs at least 8 hours of chilling time to set.
(I earn a very small commission from purchases made from product links.)
Ingredients:
For the chocolate crust:
50 (153 grams) Ritz crackers or similar buttery crackers
20 grams (3 TBSP) unsweetened cocoa powder (I used this Triple Cocoa Blend because I like the richness of the blend, but any unsweetened cocoa will work.)
3 TBSP granulated sugar
1 egg white
2 TBSP unsalted butter, melted, more as needed
For the filling:
3/4 cup heavy cream or heavy whipping cream
3 tsp vanilla extract or vanilla bean paste
1¼ tsp unflavored gelatin
½ cup granulated sugar
340 grams (1½, 8 oz packages, 12 ounces total) cream cheese, room temperature*
¾ cup whole milk, room temperature
¾ tsp lemon juice
¼ tsp course kosher salt
*Use the bricks of cream cheese, not the spreadable kind that comes in a tub, or it won’t melt smoothly into the cream.
For the topping:
1 cup blueberries
1 cup raspberries
Small mint leaves or shaved dark chocolate to garnish (optional)
Instructions:
Prepare the crust:
Preheat oven to 340° F.
Place crackers in a processor and pulse until they are fine crumbs. Approximately 8-10 times. Add cocoa and sugar and pulse until visibly blended.
Add egg white and melted butter and pulse until well combined and a crumbly dough forms, scraping down processor bowl as needed with a spatula.
Turn mixture out into a 9 or 10-inch tart pan with a removable bottom.
Press the mixture evenly into the bottom and sides of pan. Try using a large measuring cup to press and smooth the bottom and sides. See photo below.
Bake for 10-12 minutes. Don’t ovebake. When you can start to smell the cocoa, the crust should be about done. Remove from oven and let it cool completely in pan on a wire rack.
Tip: I put my tart on a baking sheet lined with parchment. It’s not necessary, but it does make it easier to transfer the tart in and out of the oven, and the parchment keeps it from sliding around on the pan.
Prepare the filling:
Pour heavy cream into a medium size saucepan with the heat off. Stir in vanilla then sprinkle gelatin over top. Let sit for 5 minutes.
Turn heat on medium low, add sugar and stir continuously with a rubber spatula until sugar and gelatin are melted, 2 or 3 minutes. Turn heat down to its lowest setting, continue stirring, and add approximately one half of the room temperature cream cheese and stir until mostly melted. Add remaining cream cheese, milk, lemon juice, and salt and stir until mostly melted together. Turn off the heat and whisk the mixture vigorously until smooth and thoroughly combined.
Tip: Keep the heat low. You don’t want to cook the mixture too much; you’re just trying to melt everything together. If the mixture starts to simmer, remove from heat and keep whisking.
Pour the mixture into the crust until almost full. If using a 9-inch tart, there may be a little extra filling so be careful as you pour. Refrigerate for approximately 8 hours until set. The crust is crumbly, so leave the tart in the pan until ready to serve.
Tip: It can be helpful to put the tart pan on a plate or baking sheet before you pour in the filling for easier transport in and out of the refrigerator.
To serve:
Wash and thoroughly dry the berries. Arrange on top of the tart as desired. Or, cut slices first then shower each slice with a mix of berries. A serrated knife works best with this tart. Wipe the knife between each cut for a clean slice.
Garnish simply with small mint leaves … or you could even shave some chocolate on top to satisfy those chocolate-lovers, like my brother and dad, who don’t believe it’s dessert unless there’s chocolate in it.
To store:
The tart will keep in the refrigerator for a couple of days, but the crust will start to soften. To freeze, remove berries, wrap individual slices in plastic, and freeze in an airtight container. No need to defrost, the slices are delicious frozen. Just unwrap, add berries and enjoy.
(Photo by Daniel Marks)


