Almond Cinnamon Rolls
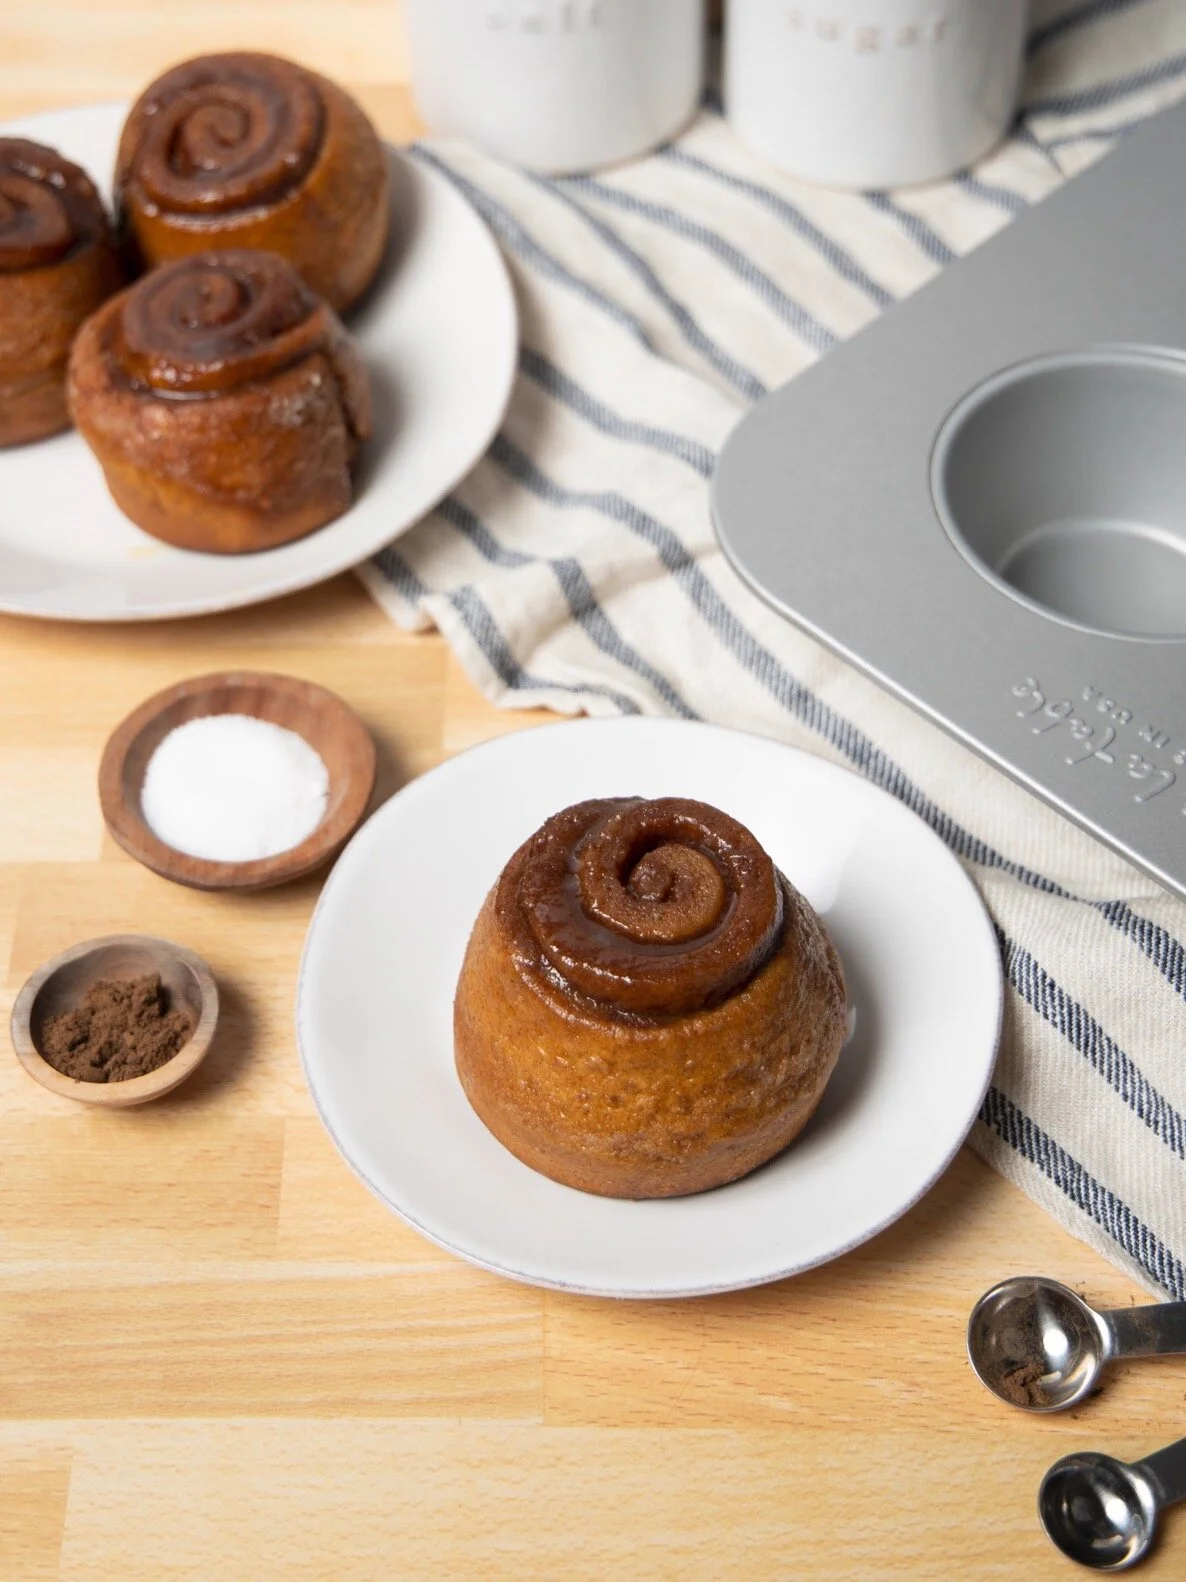
This recipe surprised me. After all, I’d never been a fan of cinnamon rolls. Well, not since junior high maybe, when I was spending too much time at the mall. Forgive me, it was the eighties, that’s what we did. You know that mall variety of cinnamon roll: giant, dripping with frosting, and the predominant flavor is basically sugar. To be fair, I’d never had a homemade cinnamon roll, and I’m certainly not one to mock a sweet tooth, but these days I appreciate a gentler touch with the sugar and a more interesting balance of flavors. These Almond Cinnamon Rolls hit that mark for me. A pillowy roll swirled with warm spices and buttery almond filling. A wonderful treat for breakfast or your afternoon coffee break. Made with an enriched dough that has just enough sugar to wake up the yeast, but not enough to make it too sugary, these cinnamon rolls get their sweetness from the filling and glaze. This is purposeful because the dough is meant to be able to be used for both sweet and savory baked goods.
The “Do-it-all-dough” used in these Almond Cinnamon Rolls is the first recipe from the online Better Baking Academy from Bake From Scratch magazine. They’re putting together a learning “module” every month in 2020 to help home bakers like you & me learn new skills and brush up on baking basics. There’s a basic dough recipe and then a choose your own adventure element where, after your dough has rested, you can go down the sweet Almond Cinnamon Roll or savory Rosemary Parmesan Roll path. I’d just finish making amazing savory Gruyere Mini Loaves so I opted for the sweet option.
Almond Cinnamon Roll Recipe:
Dollop your filling across the dough then spread it out with an offset spatula for an even coating.
A few tips:
As always, read the recipe first and play your time accordingly. Even though there are a number of steps I was start to finish in 2.5 hours because I planned ahead. Little time savers like dividing your flour as the recipe prescribes before you get started can make a difference.
While your dough rests, wash your mixing bowl and make your filling so it’s ready to go once your dough is ready. You don’t want your dough to over-proof while you’re scrambling to make it.
To easily spread your filling, dollop tablespoon amounts across the rolled out dough then spread. (See pictures above.) This ensures an even amount across all of your rolls.
Roll out your dough on a silicon mat with measurements. This helps not only with the 18x11 initial rolling out but also when you’re cutting the rolled dough into equal portions.
The recipe says to cut your dough with a serrated knife. If this works for you, great. For me, the dough was far too soft to do that. I used my bench scraper and quickly punched down through the roll with it. Even though they say you’ll squish the dough if you press too hard, I didn’t. And it was fast and easy.
Don’t miss that second proofIng time once the rolls are cut and in the baking pan. It’s mentioned at the end of a long paragraph of instructions. While we’re talking about pans, they talk about using a 13x9 sheet pan. I just used my regular 13x9 pan that I use for brownies, etc and it worked just fine.
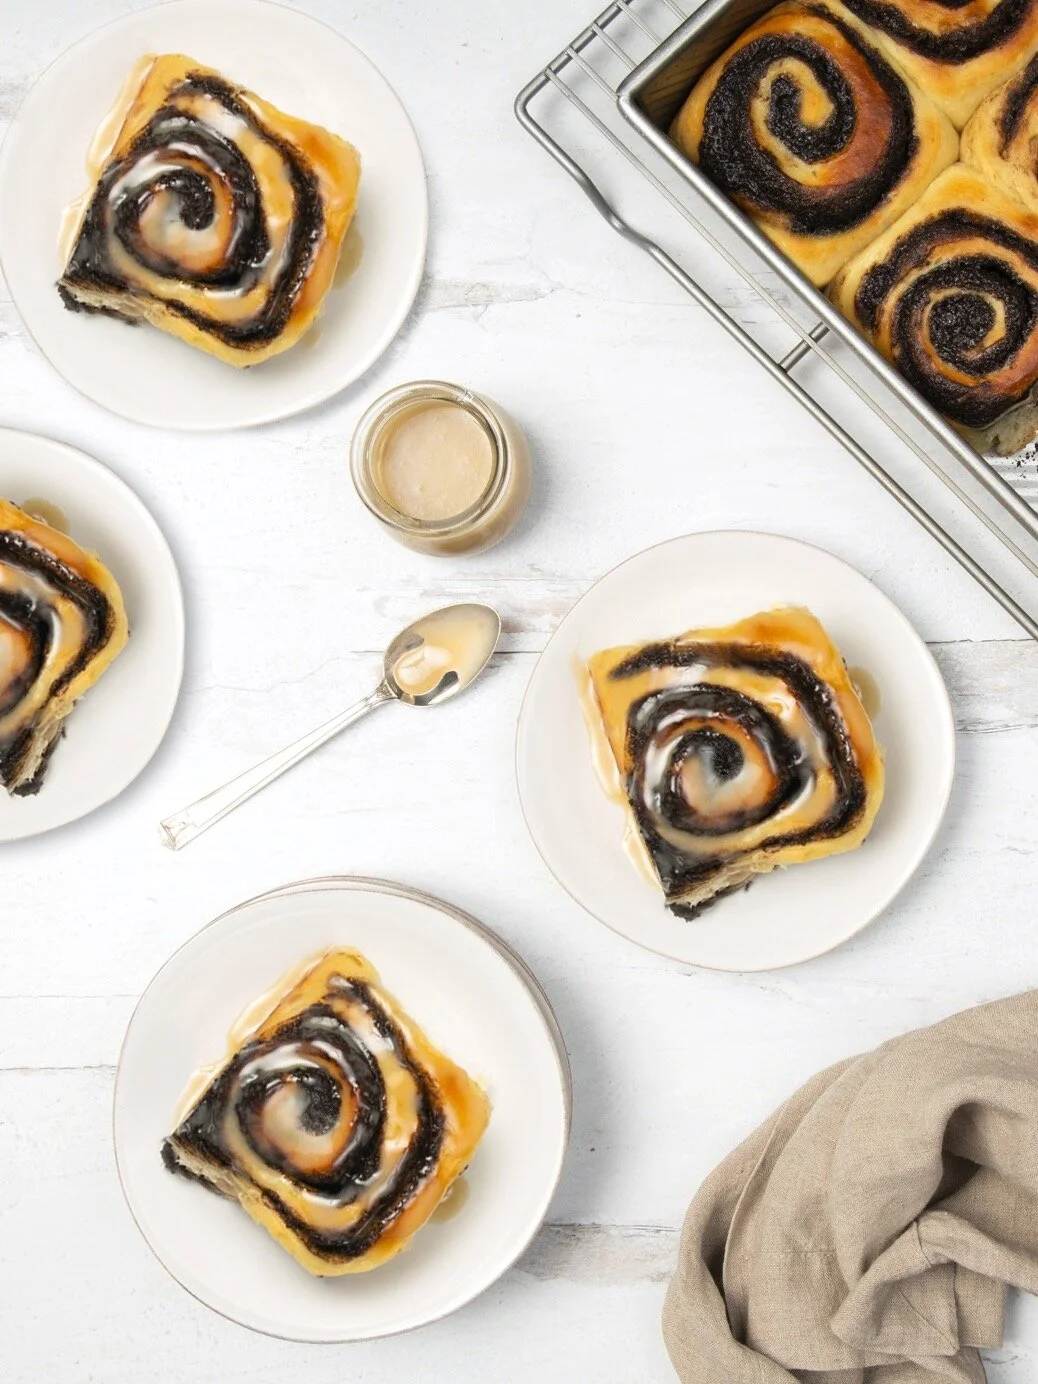
I made half the glaze recipe because I just wanted a drizzle of it. It’s delicious but a lot of it will overwhelm the roll in my opinion.
This really is a great recipe. Check out the helpful visual tips they provided with the recipe. It has photos that show you how to look for properly mixed and proofed dough. I plan to use it again and hope you enjoy! Don’t forget to let me know if you did. You can sign up for the Better Baking Academy here. (I’m not paid to promote it, I’m just enjoying it.)
These look tiny, right? This photo was taken is before the second proofing.
The cream cheese glaze recipe is delicious, but I like my rolls lightly iced so I opted for a drizzle. Feel free to spread yours on thicker with an offset spatula to your own taste!


