Vanilla Bourbon Canelés
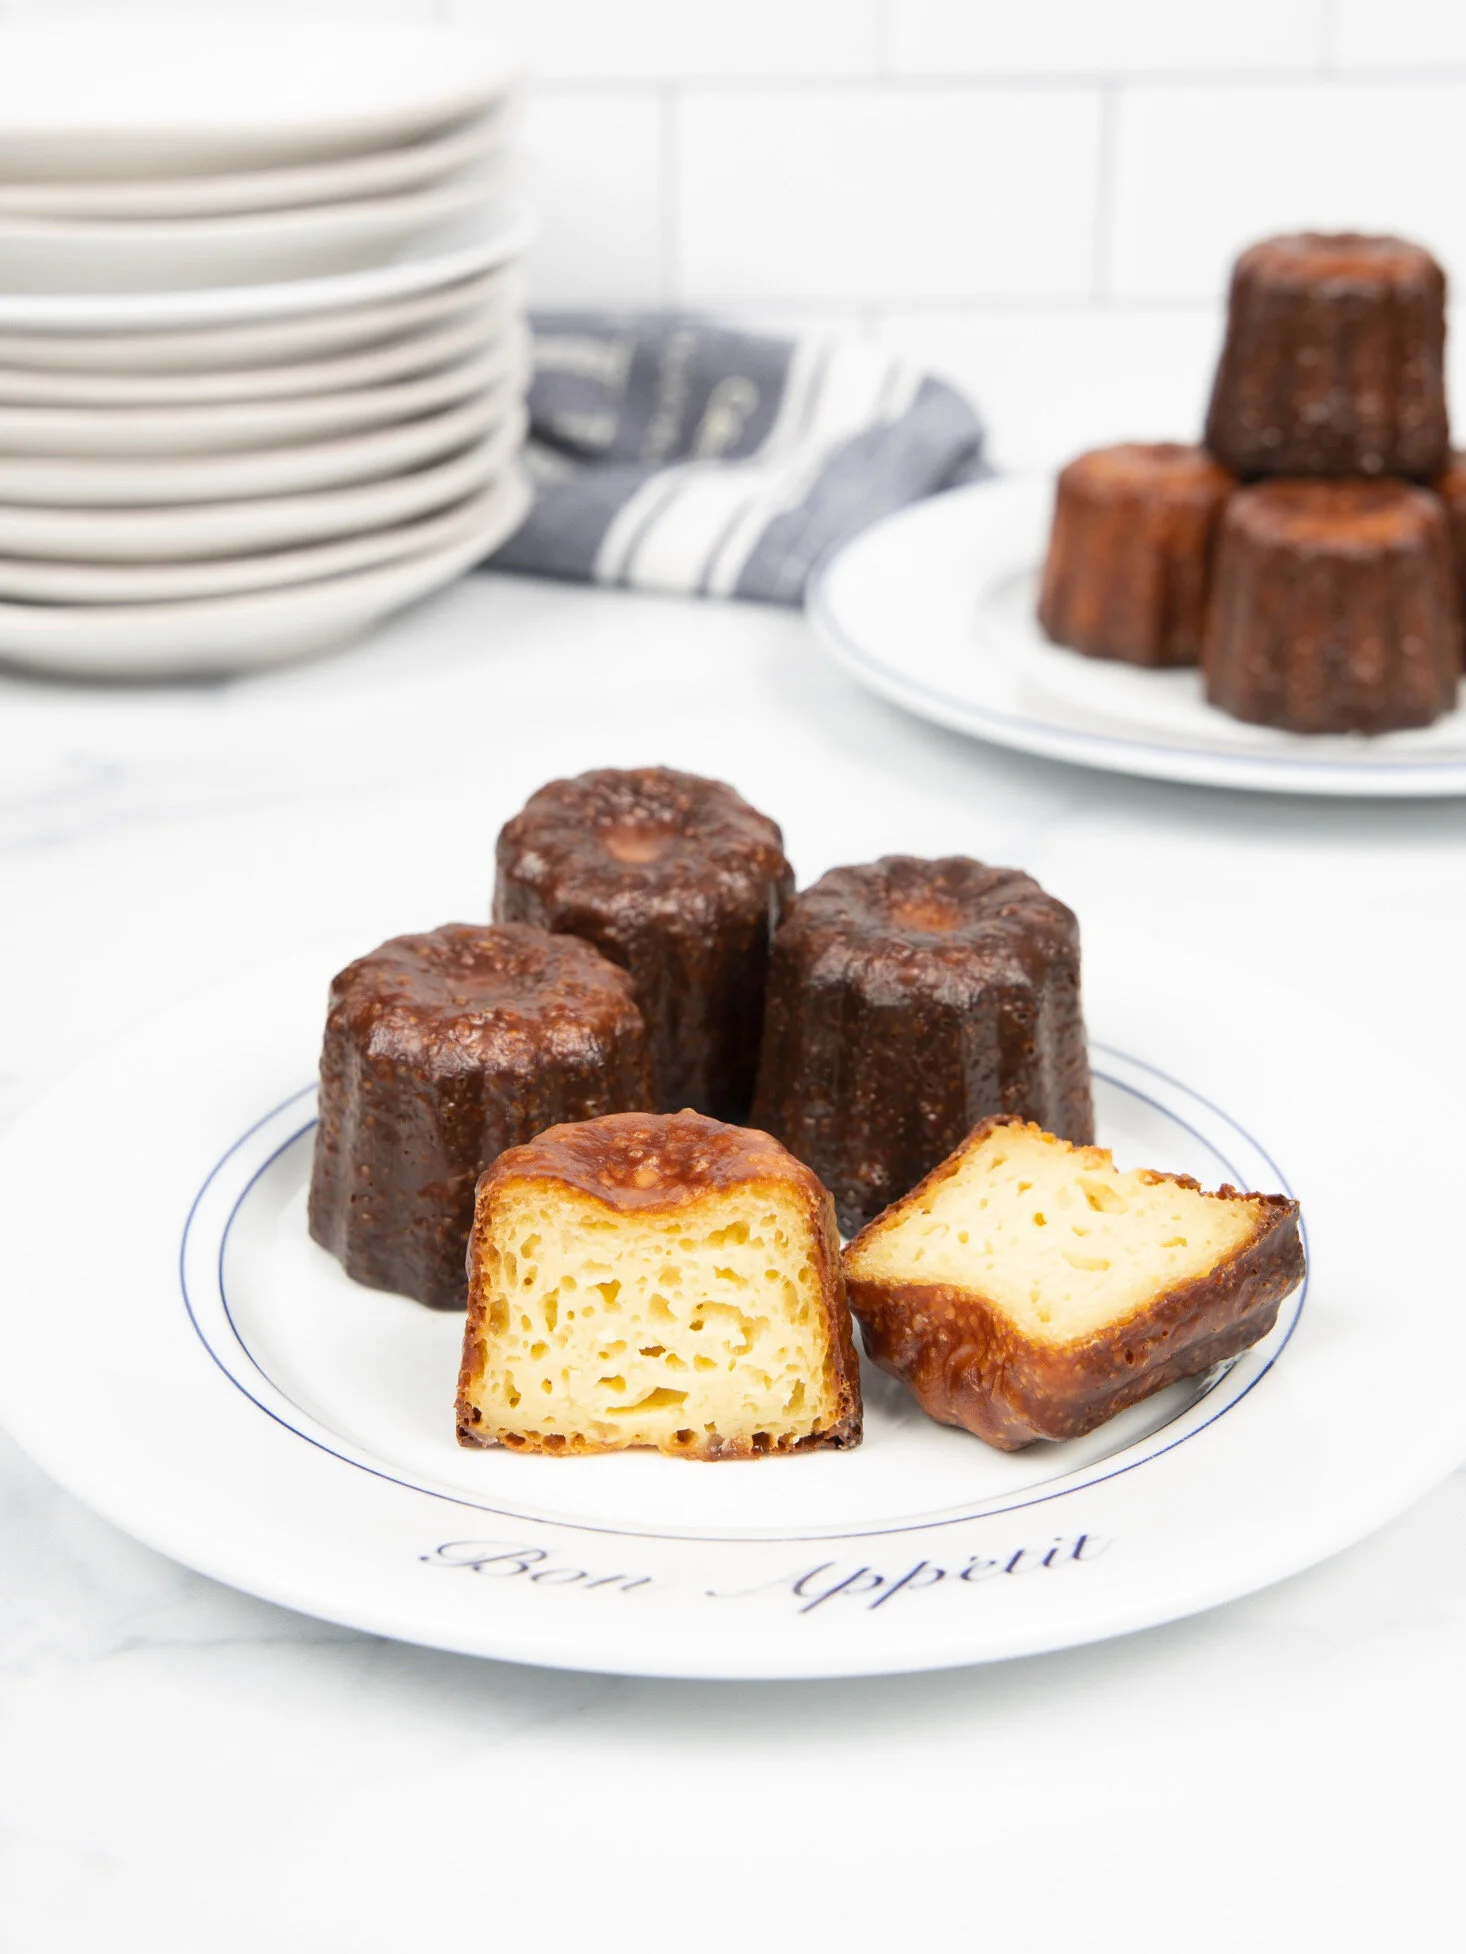
Have you ever tried Canelés? They’re lightly boozy, tiny French pastries with a crunchy, caramelized exterior and soft, custard interior. Such a unique flavor-texture combination and so delicious! They’re traditionally made with rum, but I made mine with bourbon because I prefer the flavor.
The pastries get their crunchy exterior from a coating of beeswax and butter applied to the pan before the batter is poured in. Some recipes suggest just butter or clarified butter, but I don’t think you’ll get the proper texture without the beeswax. Make sure the beeswax you buy is food grade.
Canelés also require a specialty pan. They’re traditionally made with individual copper molds that can run about $30 each (yikes), but I found this Chefmade pan and it works beautifully. This recipe is written specifically for that pan. There are also silicon canele molds on the market. If you purchased a silicon version I suggest following this recipe on Food 52 instead.
The batter needs at least 24 hour rest in the refrigerator and are best eaten the day they're made, so make sure to plan accordingly.
Photo by Daniel Marks
Vanilla Bourbon Canelés Recipe:
Yield:
12 caneles
Difficulty:
Moderate
Special equipment:
Ingredients:
To grease the pan:
30 grams (2 TBSP) unsalted butter
30 grams (2 TBSP) food grade beeswax (I used this beexwax)
For the caneles:
480 grams (2 cups) whole milk
50 grams (3½ TBSP) unsalted butter
1 TBSP vanilla extract
2 large eggs
2 large egg yolks
250 grams (1¼ cups) granulated sugar
Pinch fleur de sel or course kosher salt
2 TBSP bourbon (or rum or cognac)
100 grams (¾ cup) all purpose flour
Instructions:
Add milk and butter to a small saucepan. Bring the mixture to a simmer, stirring frequently, then turn off the heat, stir in the vanilla extract and let it all cool a bit so it's warm, but not too hot. You don't want to cook the eggs in the next step.
In a large bowl, whisk the eggs and yolks together. Add the sugar and salt and continue whisking until combined. Stir in the bourbon. Sift flour over the egg mixture, then whisk thoroughly together. Whisk in the milk mixture until well combined. Let the batter come to room temperature, then cover or place in an airtight container and refrigerate for at least 24 hours.
The next day, melt butter and beeswax together in a small saucepan over medium-low heat. Once melted, turn heat to lowest setting and brush a thin coating in each well of the canele pan. Don’t remove saucepan from heat or your mixture will harden before you finish brushing the canele pan. Trust me, I learned the hard way with this! Place the canele pan in the freezer for at least an hour for the coating to set.
Preheat oven to 375° F while the pan rests.
When ready to bake, place canele pan on a parchment lined baking sheet. Remove batter from the refrigerator. It will likely have separated, so gently whisk together until cohesive, then pour into the each well ¾ of the way full. Bake for 1 hour and 10 minutes. Do not open oven during the bake. The pastries need to cook evenly and a closed oven will keep the temperature consistent. Once done, immediately turn out the pastries onto a cooling rack. Do not let cool in pan or they may stick. Caneles are done when they are crispy on the outside, very dark brown, almost black. If they look too light, place back in pan top side up and bake for another 5-10 minutes.
Let cool to room temperature and enjoy. Caneles are best the day they are baked.
Photo by Daniel Marks
Adapted from: https://www.bakefromscratch.com/cooks-atelier-caneles/


