Pineapple Buns (Bolo Bao)
Pineapple Buns (Bolo Bao) are beautiful, pillowy-soft milk buns with a sweet crispy topping. They get their name from the pattern drawn into the topping, not the ingredients. There’s no fruit in these buns. According to my research, they originated in Hong Kong and are extremely popular in Chinese bakeries around the world.
Though I can’t pretend to be an expert on the history, what I can tell you is that because they’re lightly sweet, they’re a fantastic breakfast treat along side your morning tea or coffee....or afternoon snack....or dessert....you see where I’m going with this. And though they do take a little time, they’re fun to make. The dough is easy to work with and holds its shape well.
The Bolo Bao are of course best within a few hours after baking, but because they’re made with an enriched dough (meaning they have some fat in them from the milk) they do last 1-3 days if wrapped airtight. You can always heat them up in the oven for a minute or two if you like.
There are a lot of recipes out there for Pineapple Buns. The one I used was from the January 2020 issue of Bake From Scratch magazine. They had a section devoted to baked goods in celebration of the Lunar New Year and these jumped out at me. I liked the look of them and I love Bao! I also made the BBQ Pork Bao from the same issue. Twice. I also made the Pineapple Buns twice, not because I really wanted to eat twenty Pineapple Buns but because the first batch – though they tasted great – did not look so pretty. The topping had softened by the time I got around to carving the design and that distorted the whole bun. My second batch was a success and that means I now have some useful tips for you no matter who’s recipe you end up using.

Bolo Bao Recipe:
At the time of writing this post, they had not posted the recipe on their site, so here’s a link to the digital edition. It’s not free, but that issue has a lot of great recipes for the Lunar New Year as well as doughnuts, cakes, and a whole section devoted to Meyer Lemon baked goods. Yum. No, I’m not getting anything for promoting it, just enjoyed the issue.
Yield:
10 buns
Difficulty:
Moderate, mostly because of the shaping of the bun and the carving of the topping.
Time:
Start to finish this took me around 3 hours including resting and topping chilling time.
Special equipment:
Instant read thermometer
Really sharp knife. This shouldn’t be special, but I mention it because we often let our knives get a bit dull and the topping will be easier to carve if your knife is sharp.
Bench scraper to divide your dough. Optional but really useful.
A few tips:
1) The instructions in the recipes I’ve seen start from dough to topping. Do it in the reverse. Start with the topping to give it time to chill, then make the milk roux (or water roux depending on the recipe) to give it time to get to room temperature.
2) The timing to knead your dough in the mixer says medium low for 6-8 minutes. I only got the proper gluten after kneading 8 minutes on medium high speed. The dough is soft enough that this works okay. Your mixer won’t fly off the counter like with a stiff dough.
3) Your dough will be soft and may not completely clear the sides of the bowl. That’s okay. Test for readiness using the ”windowpane test.”
4) If you have one, use a bench scraper to divide your dough. The dough is stretchy and this will help speed things along. Also weigh out your portions using a digital scale. This will ensure you have 10 buns of the same size. Try to do this fairly quickly. Use 2 pans for the 10 buns as the recipe says. They expand a lot when baking!
5) Leave your topping in the refrigerator right up until you’re ready to use it. Once all of your buns have been shaped, take your topping out of the refrigerator cut it in half, rewrap one half and put it back in the refrigerator. It will be easier to roll out and transfer to the bun if it’s not too soft.

Photo by Daniel Marks
6) Work quickly when rolling your topping, again you don’t want it to get too soft. The instructions say to roll out the topping to 4 inch rounds, so I rolled out mine on a silicon pastry mat to take advantage of the ruler at the bottom of the mat. Rolling out the topping between small sheets of plastic wrap make it easy to pick up and place over your buns.

Photo by Daniel Marks
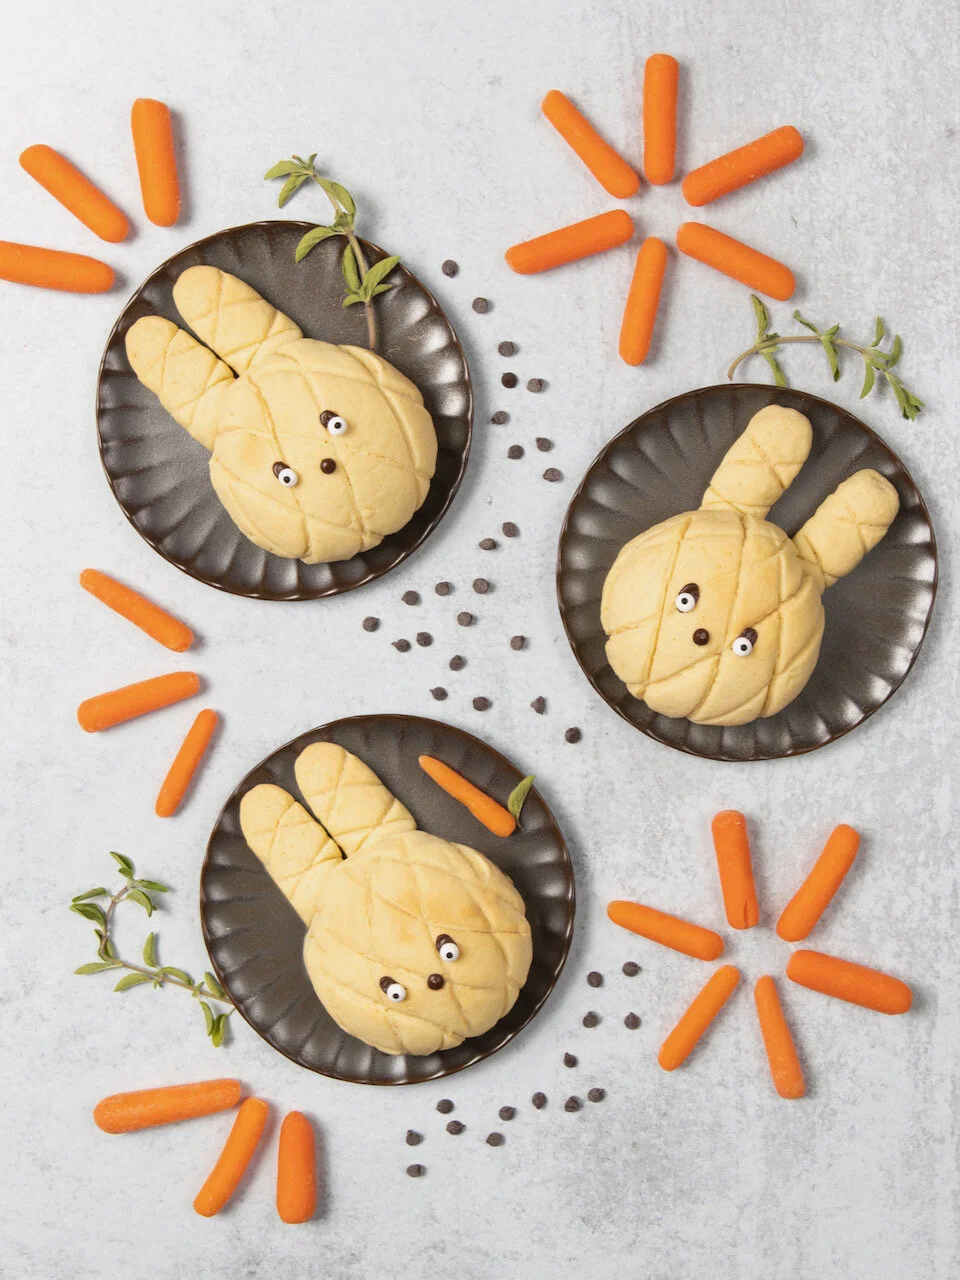
7) Similarly, work quickly but carefully (safety first) when gently carving the pineapple design into the topping, keeping your lines around a centimeter apart. Mine were too far apart at first and the result wasn’t pretty. Only carve into the topping, not the bun.

Photo by Daniel Marks
8) Rotate your pans halfway through baking. I baked mine one batch at a time, one right after the other so I could control the color.
Enjoy! Take your time and have fun with this baking project.