Sarah's Best Bagels
Recipe updated February 2, 2022
There’s nothing better than a fresh bagel on a weekend morning. I like mine with cream cheese, red onion and a little tomato. If there’s some really fresh smoked salmon around I won’t say no. Growing up, my mom would drive 20 minutes to Bagel City in Rockville, MD every week to make sure we always had “the good ones.” (My 83 year old dad still drives over there to get them.) I lived in Los Angeles when I wrote this recipe, and while we had some decent bagel places, none have lived up to my memories, so I set out to make my own. I’m glad I did, because now that I’m in Temecula I have to drive 45 minutes round trip for a decent bagel.
I call these “Sarah’s Best Bagels” because I tried 3 very different recipes until I found the right combo of ingredients and techniques that not only made bagels with great flavor and a nice chew, but also resulted in a dough that was easy to shape. So many of the recipes I tried yielded a really wet dough that made it next to impossible to work with. They tasted fine but did not look much like bagels. The dough in this recipe is stiff, and that makes it truly easy to shape the bagel. Just punch a hole through a ball of dough, twirl it around your fingers for about 30 seconds and you’re done. Sounds fun, right? I’ve included a video at the end of the post so you can see it all in action.
Please note: I used King Arthur Bread Flour. Bread flour is a must for getting the right consistency in your dough and the right texture in your finished bagel. King Arthur Flour Bread Flour has a higher protein content than other flours, so you may need to add a little more flour if you use another brand.
A pizza peel helps transfer freshly baked bagels in and out of the oven. (Photo by Daniel Marks)
Giving credit where credit is due:
Adapted from this recipe in the Washington Post.
Bagel Recipe
Plan ahead
The dough for these bagels needs to rest for 12-18 hours before you can start boiling and baking, so please read the full recipe before you start so you have them when you want them. Bagels freeze really well so you can always make them ahead of time. Slice, freeze, then just pop straight in a toaster when you’re ready to dig in.
Special equipment:
Stand mixer with dough hook
Pizza stone (For best results. But you can use an inverted baking sheet)
Pizza peel (Optional, but very useful for transferring bagels in and out of the oven)
Difficulty:
Moderate
Yield:
10 bagels
(I earn a tiny commission from some products sold through this site.)
Ingredients:
623 grams bread flour
2 tsp salt
2 tsp active dry yeast*
1 TBSP + 1 tsp barley malt syrup
355 ml (a scant 1 & 1/2 cups) warm water (105 - 110° F)
3 TBSP cornmeal for dusting the pan
Optional toppings to your taste like: Sesame seeds, dried onion, dried garlic, pumpkin seeds, poppy seeds etc. About 1/2 cup should adequately cover one side of all bagels.
* You can use instant yeast, but decrease the amount to 1 1/2 tsp and adjust the water temperature to 80° - 100°F. Follow recipe as written.
Shaped bagels start off small, but poof up during boiling and baking. Scroll down for visual tips on how to quickly and easily shape a bagel.
Instructions:
In the bowl of a stand mixer, whisk together bread flour, salt, and yeast. Add malt barley syrup and warm water and stir to combine. Using the dough hook on your stand mixer, knead on lowest speed for 4 minutes or until the dough has come together around the hook. Increase the speed to medium-low and knead for 7 to 10 minutes or until the dough is smooth and stiff.
Tip: If the dough feels sticky after 7 minutes, add another TBSP or two of bread flour and continue kneading in the mixer for another few minutes.
FYI: The stiff dough worked my mixer pretty hard. Don’t leave it unattended. You may need to hold down the bowl of the mixer so it doesn’t fly away.
Dust a rimmed baking sheet with cornmeal and set aside. Turn the dough out onto a work surface, divide it into 10 equal portions (around 102 grams per bagel). When dividing, cut, don’t tear the dough apart or you’ll break the strands of gluten. A bench scraper is useful for this. Cover the portioned dough with a damp towel.
Shaping the bagel: Working one bagel at a time, gently roll a piece of dough into a rough ball and slightly flatten. It doesn’t need to be perfect a perfect circle. Pull up an edge, and press it down in the middle. Repeat this all the way around the edges until you have a smooth ball. Pinch the seem closed, then flip over. Seem side down, scoot the dough ball around on a clean (not floured) work surface with a cupped hand, until you have sealed the seam. Place back under the damp towel. Continue until you have 10 smooth balls of dough. See photos below for visuals.
Starting with the first ball you created, make the bagel’s hole by punching through the middle of the ball with your finger and twirl it around your finger or 2 fingers until the hole is about 1 inch wide. If the dough springs back on you and the hold starts to shrink back up, let the dough rest under the towel for 10 minutes then try again. Check out the video below to see how it’s done.
Place the dough rings on the cornmeal-covered baking sheet. Tightly cover with plastic wrap and refrigerate for 12-18 hours.
About an hour before you’re ready to bake the bagels, place a pizza stone on the middle oven rack. Preheat the oven to 450° F. A few tips:
If you don’t have a pizza or baking stone you can invert a rimmed baking sheet on the oven rack and use that as the baking surface.
My old oven used to take almost 1 hour to reach 450°F so allow time for preheating.
If you plan to add toppings, get these ready by pouring them into a shallow dish like a dinner plate or pie plate so they’re ready for dipping after your bagels have been boiled.
Fill a large, heavy pot like a Dutch oven with 3 inches of water and bring it to a rapid boil. There should be enough water so you can submerge the bagels. Set a wire rack near your stove.
Once the water is boiling, remove the bagels from the refrigerator. If you plan to bake in batches - I usually bake in 2 batches, 5 bagels at a time - only remove enough for your first batch. How many you bake at a time will depend on how big your pizza stone is.
Carefully drop 2 to 4 bagels (depending on the size of your pot) into the boiling water until very slightly puffed for 60 seconds. Flipping after 30 seconds. Using a slotted spoon or spatula, transfer the bagels to the wire rack to drain, bottom (flatter) sides down. Repeat with the remaining bagels.
Please note: Bagels may look deflated or even lumpy post boiling, but they will puff back up in the oven.
If adding toppings: Dip the top of the bagels into topping while still wet. This will help the topping stick.
Transfer bagels to a sheet of parchment paper. Using a pizza peel, slide the parchment with the bagels directly onto baking stone.
Bake for 12 to 16 minutes or until the bagels are a deep golden brown and crisp.
Transfer the bagels to a wire rack to cool. If you tap on the underside of the bagel it should sound hollow. That’s how you’ll know it’s truly done.
Repeat the steps above with the next batch of bagels. Let the bagels cool for about 10 minutes before digging in.
Shaping the balls of dough:
To shape the ball, pull up a section of dough, press down toward the middle, and repeat all the way around the edges. Pinch the seems closed, then flip over.
Creating the hole in the bagel:
Tips for success:
The type of flour matters. Different brands of flours have different protein count and can really affect the way your dough comes together. All Purpose Flour is not the same as Bread Flour and it will not give your dough the same consistency.
Don’t skip the boiling step! This is what gives your bagel the chew on the outside. Just baking the dough will give you a roll, not a bagel.
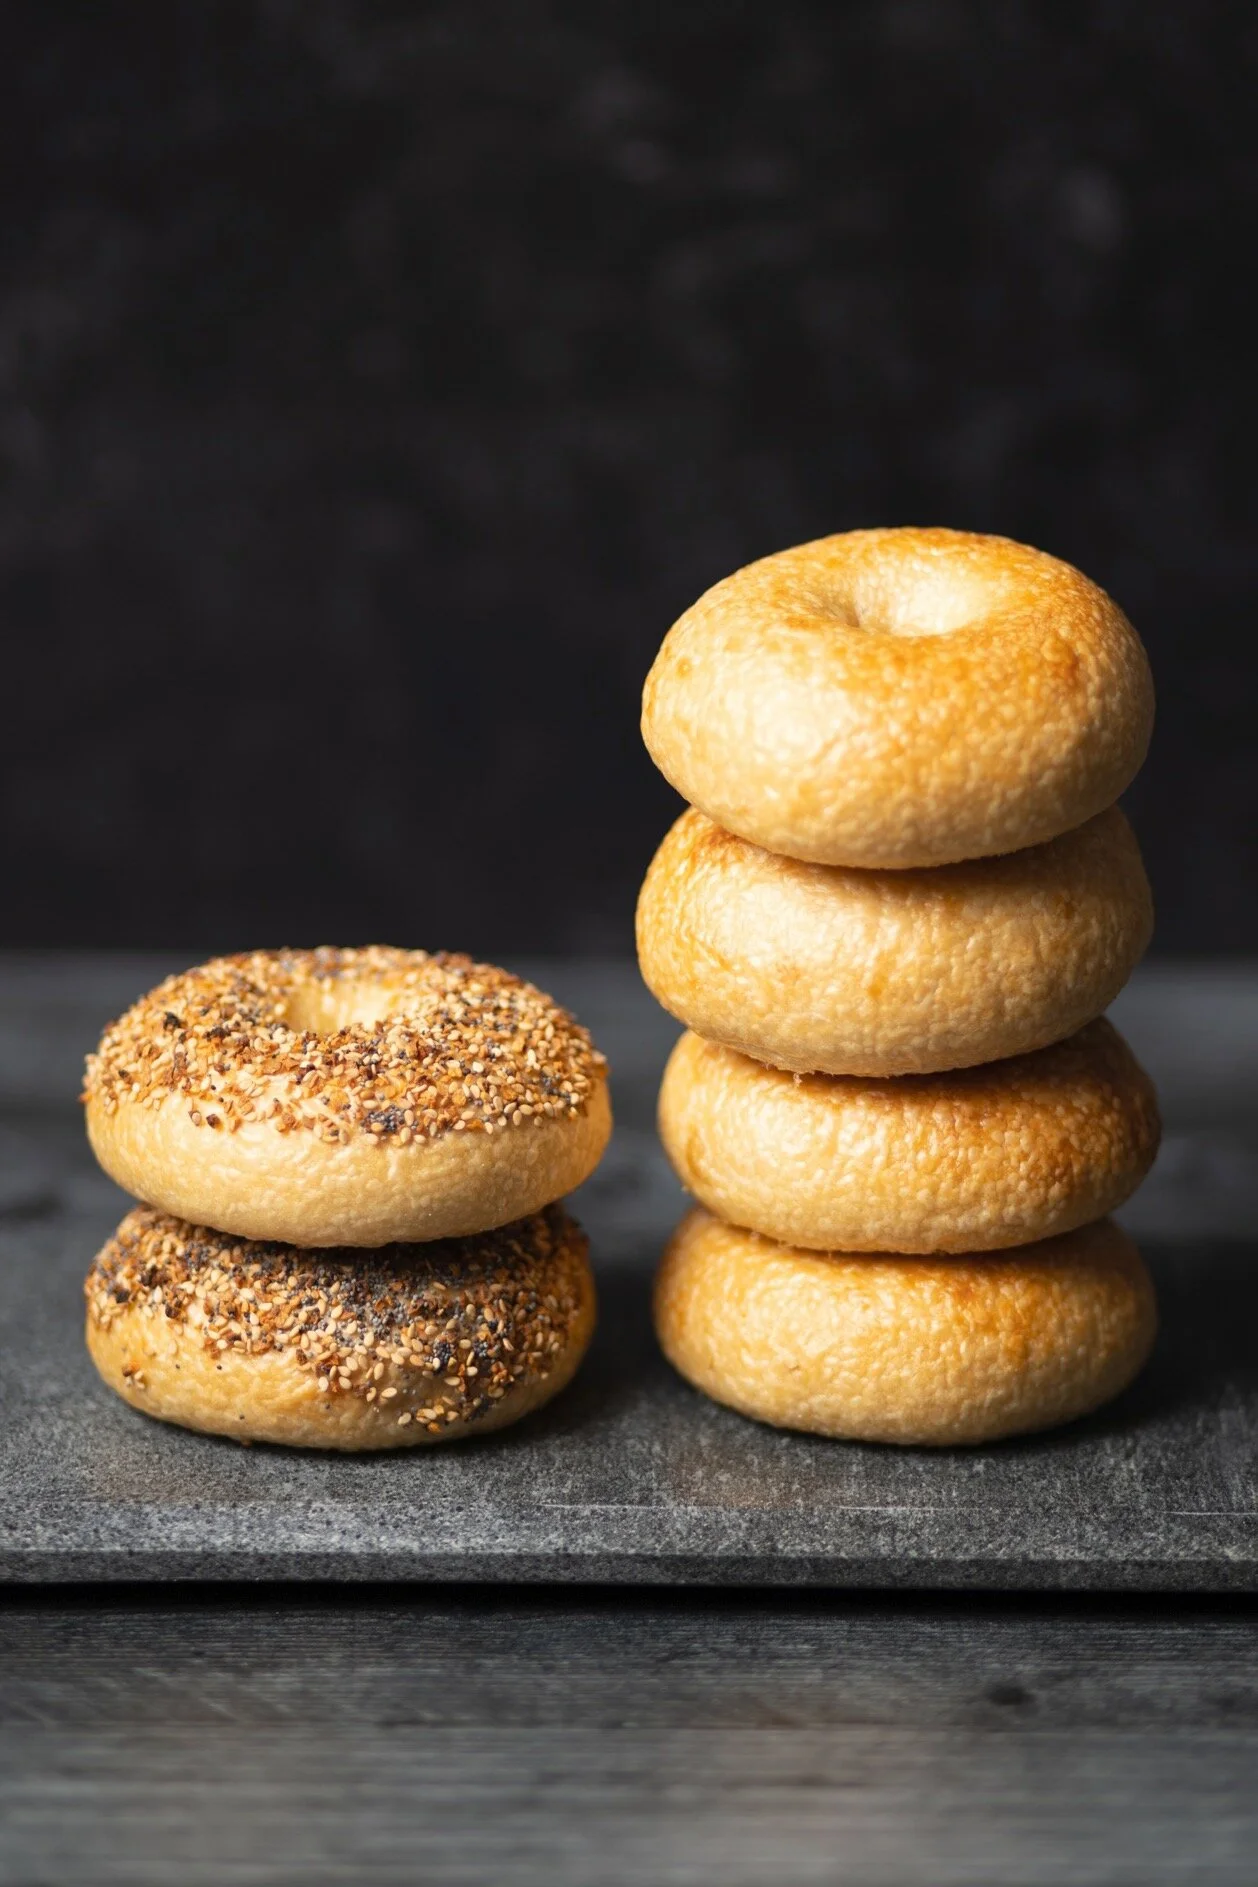
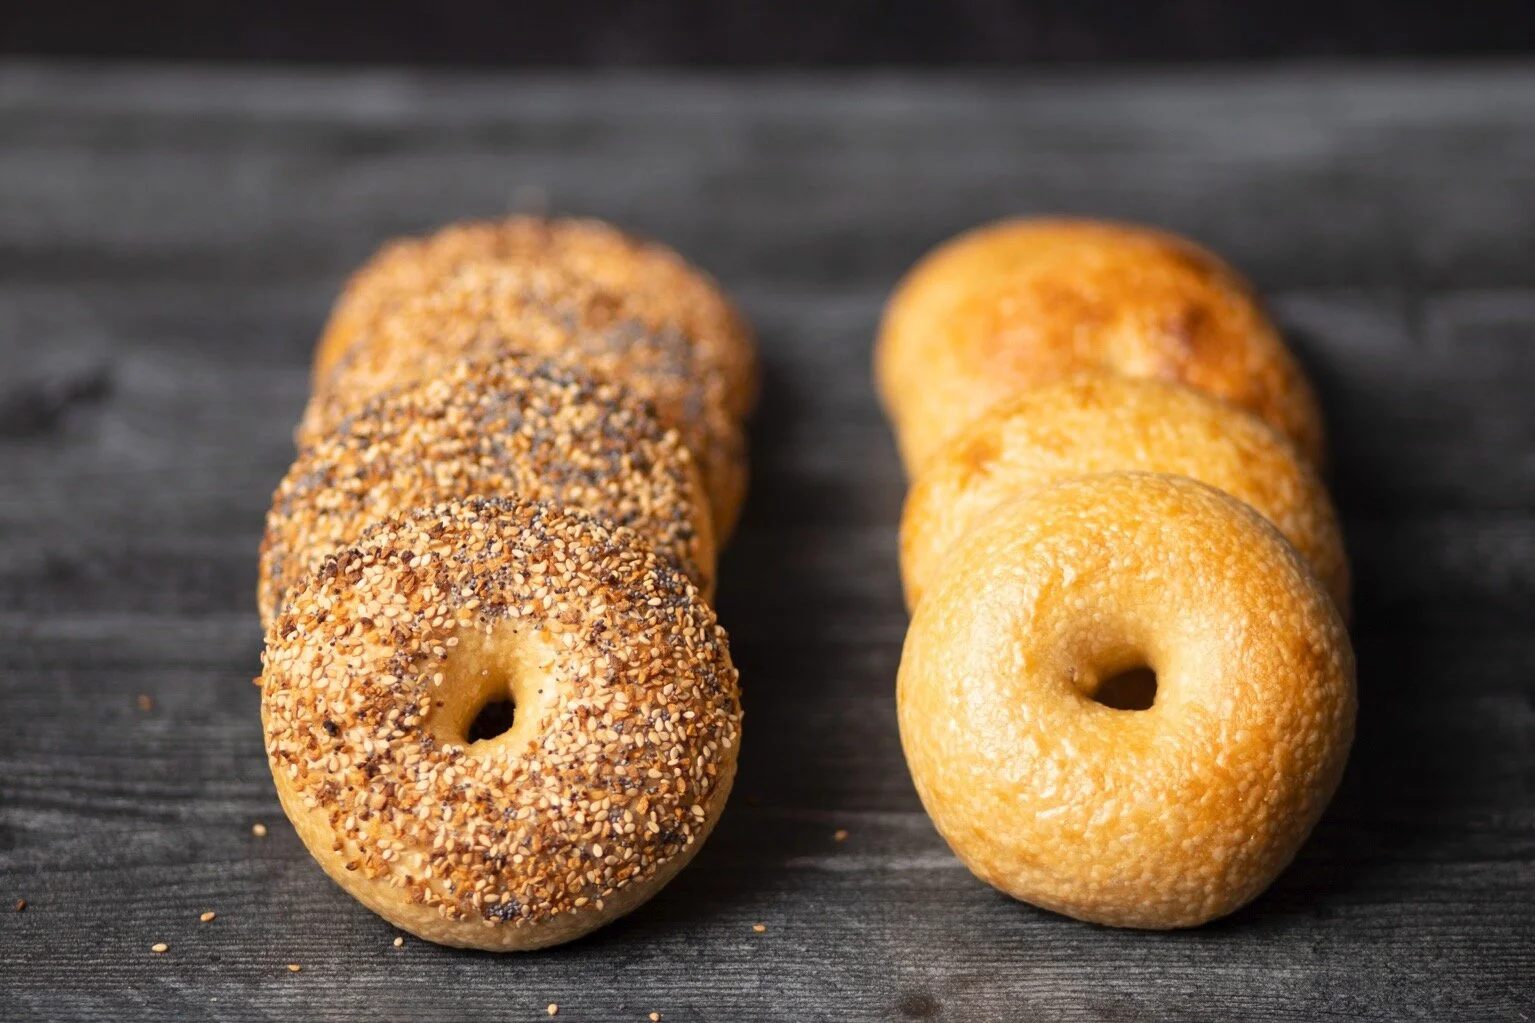
Everything Bagels and Plain Bagels. (Photo by Daniel Marks)


