Chocolate Banana Scones
I’m not always interested in something sweet in the morning. If I want to endulge, I’ll usually go for homemade English Muffins or Bagels. But I’ll make an exception for these to-die-for Chocolate Banana Scones. Bursting with melty, dark chocolate and warm undertones of cinnamon and nutmeg they are a sinfully delicious treat any time of day. And because these are made with both cream and butter they have a tender crumb but are also a little crumbly and craggy just as a scone should be. A bit decadent? Yes. Worth it? Absolutely.
If you’ve never made scones before there are few important things to know:
The dairy ingredients should be very cold. Like a pie crust or puff pastry, cold butter is how you end up with the desired flakey texture.
The dough should not be overmixed. Scone dough should be kind of a lumpy mess! When combining ingredients use a gentle hand. Err on the side of undermixing. Too much mixing and you’ll end up with tough bricks, not scones.
Scones are always best the day they’re made. They lose flavor and texture even one day later. If you need to plan ahead, prepare them following the instructions below right up until the baking step. At this point you can refrigerate overnight or wrap tightly and freeze for up to a month. Bake straight from the freezer adding a few extra minutes.
Scones are easy to make! No fancy equipment is really needed. If you don’t have a processor, you can combine (or “cut in”) the butter and flour mixture using two knives or a pastry cutter rather than the food processor.

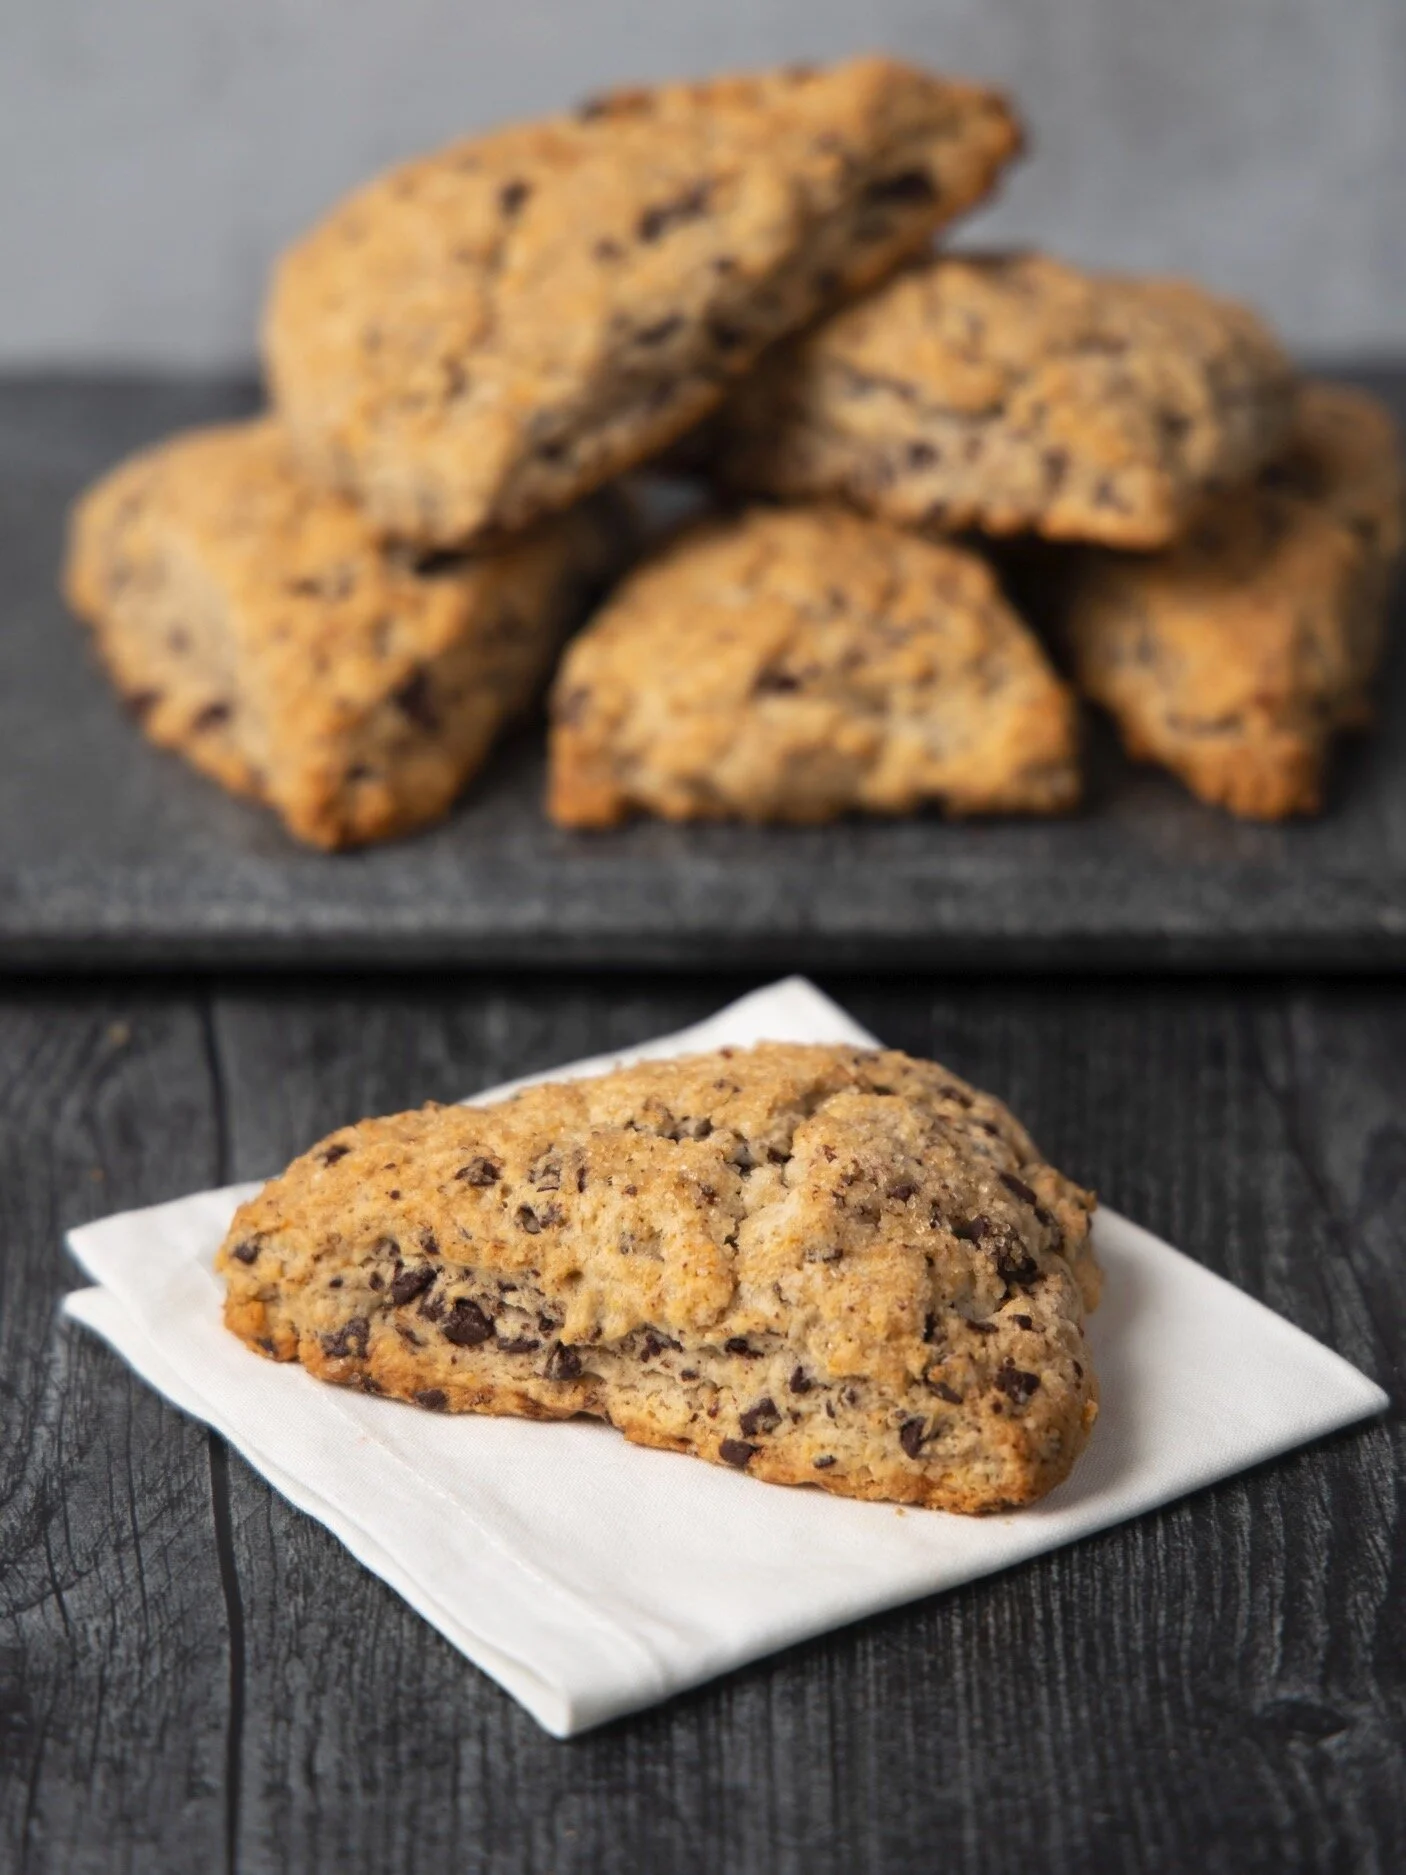
Look at all that chocolate! It’s bursting in every delicious bite. (Photo by Daniel Marks)
Chocolate Banana Scone Recipe:
Yield:
8 scones
Difficulty:
Easy

Ingredients:
375 grams all purpose flour
50 grams granulated sugar
1 TBSP (15 g) baking powder
1 tsp (3 grams) kosher salt
¼ tsp nutmeg
¼ tsp cinnamon
113 grams (1 stick) unsalted butter, cold, cubed
160 ml heavy cream or heavy whipping cream, cold
155 grams (approximately 1 large) very ripe banana, mashed
120 grams bittersweet chocolate, chopped
Topping (optional):
2 TBSP unsalted butter, melted
2 TBSP turbinado sugar
Instructions:
Place a baking rack in the middle of the oven and preheat oven to 375° F. Line a baking sheet with parchment paper.
Whisk together flour, granulated sugar, baking powder, salt, nutmeg, and cinnamon and add to food processor along with the cold, cubed butter. Pulse a few times until the mixture is course and crumbly. Transfer mixture to a medium sized bowl.
Add the cream and mashed banana to the flour mixture and stir just until you don’t see any dry spots of flour. It will be lumpy and sticky. Be careful not to overmix. Gently stir in the chocolate just until evenly distributed. Again, try not to mix for too long.
Turn the dough out onto a floured work surface. Lightly flour your hands and gather the dough together. Gently knead for a 20-30 seconds, that’s it. (You’re not going after a smooth dough, just one that holds together.)
Gently pat the dough into a ball then flatten to a circle roughly 8 inches in diameter. You can use a rolling pin but lightly floured hands may be easier.
Cut the dough into 8 wedges with a floured knife or bench scraper. Wipe off and flour your knife between each slice to keep it from sticking. (Check out my lemon scone recipe for a visual.)
Transfer wedges to the prepared baking sheet leaving room for them to expand, and brush each scone with the melted butter. Sprinkle turbinado sugar on top of each.
Bake until golden brown about 20-25 minutes. Rotating halfway through for even browning. Place on a cooling rack for a few minutes before serving. Scones are best the day they are made.
To serve:
I love these just as they are, and warm so the chunks of chocolate are still melted.

Those delicious “layers” come from the cold butter. Yum. What are you waiting for? Start baking! (Photo by Daniel Marks)