Swedish Cardamom Buns
Swedish Cardamom Buns, known as Kardemummabullar in Sweden, were one of the best pastries I made last year. Twisted strands of soft dough slathered with a buttery spread that’s been drenched in cardamom. The butter melts out and leaves a sticky cardamom candy on the parchment. So good. Make sure you leave it on when you take them off the pan. I still think about biting into the slightly crisp exterior and sinking my teeth into the sweet, soft, spiced pastry inside. So satisfying. I usually gift my baked goods to my husband’s co-workers, but I I kept most of these for myself. I think I had one for breakfast every day for a week. (Probably when the front desk staff at my gym learned my name too.)
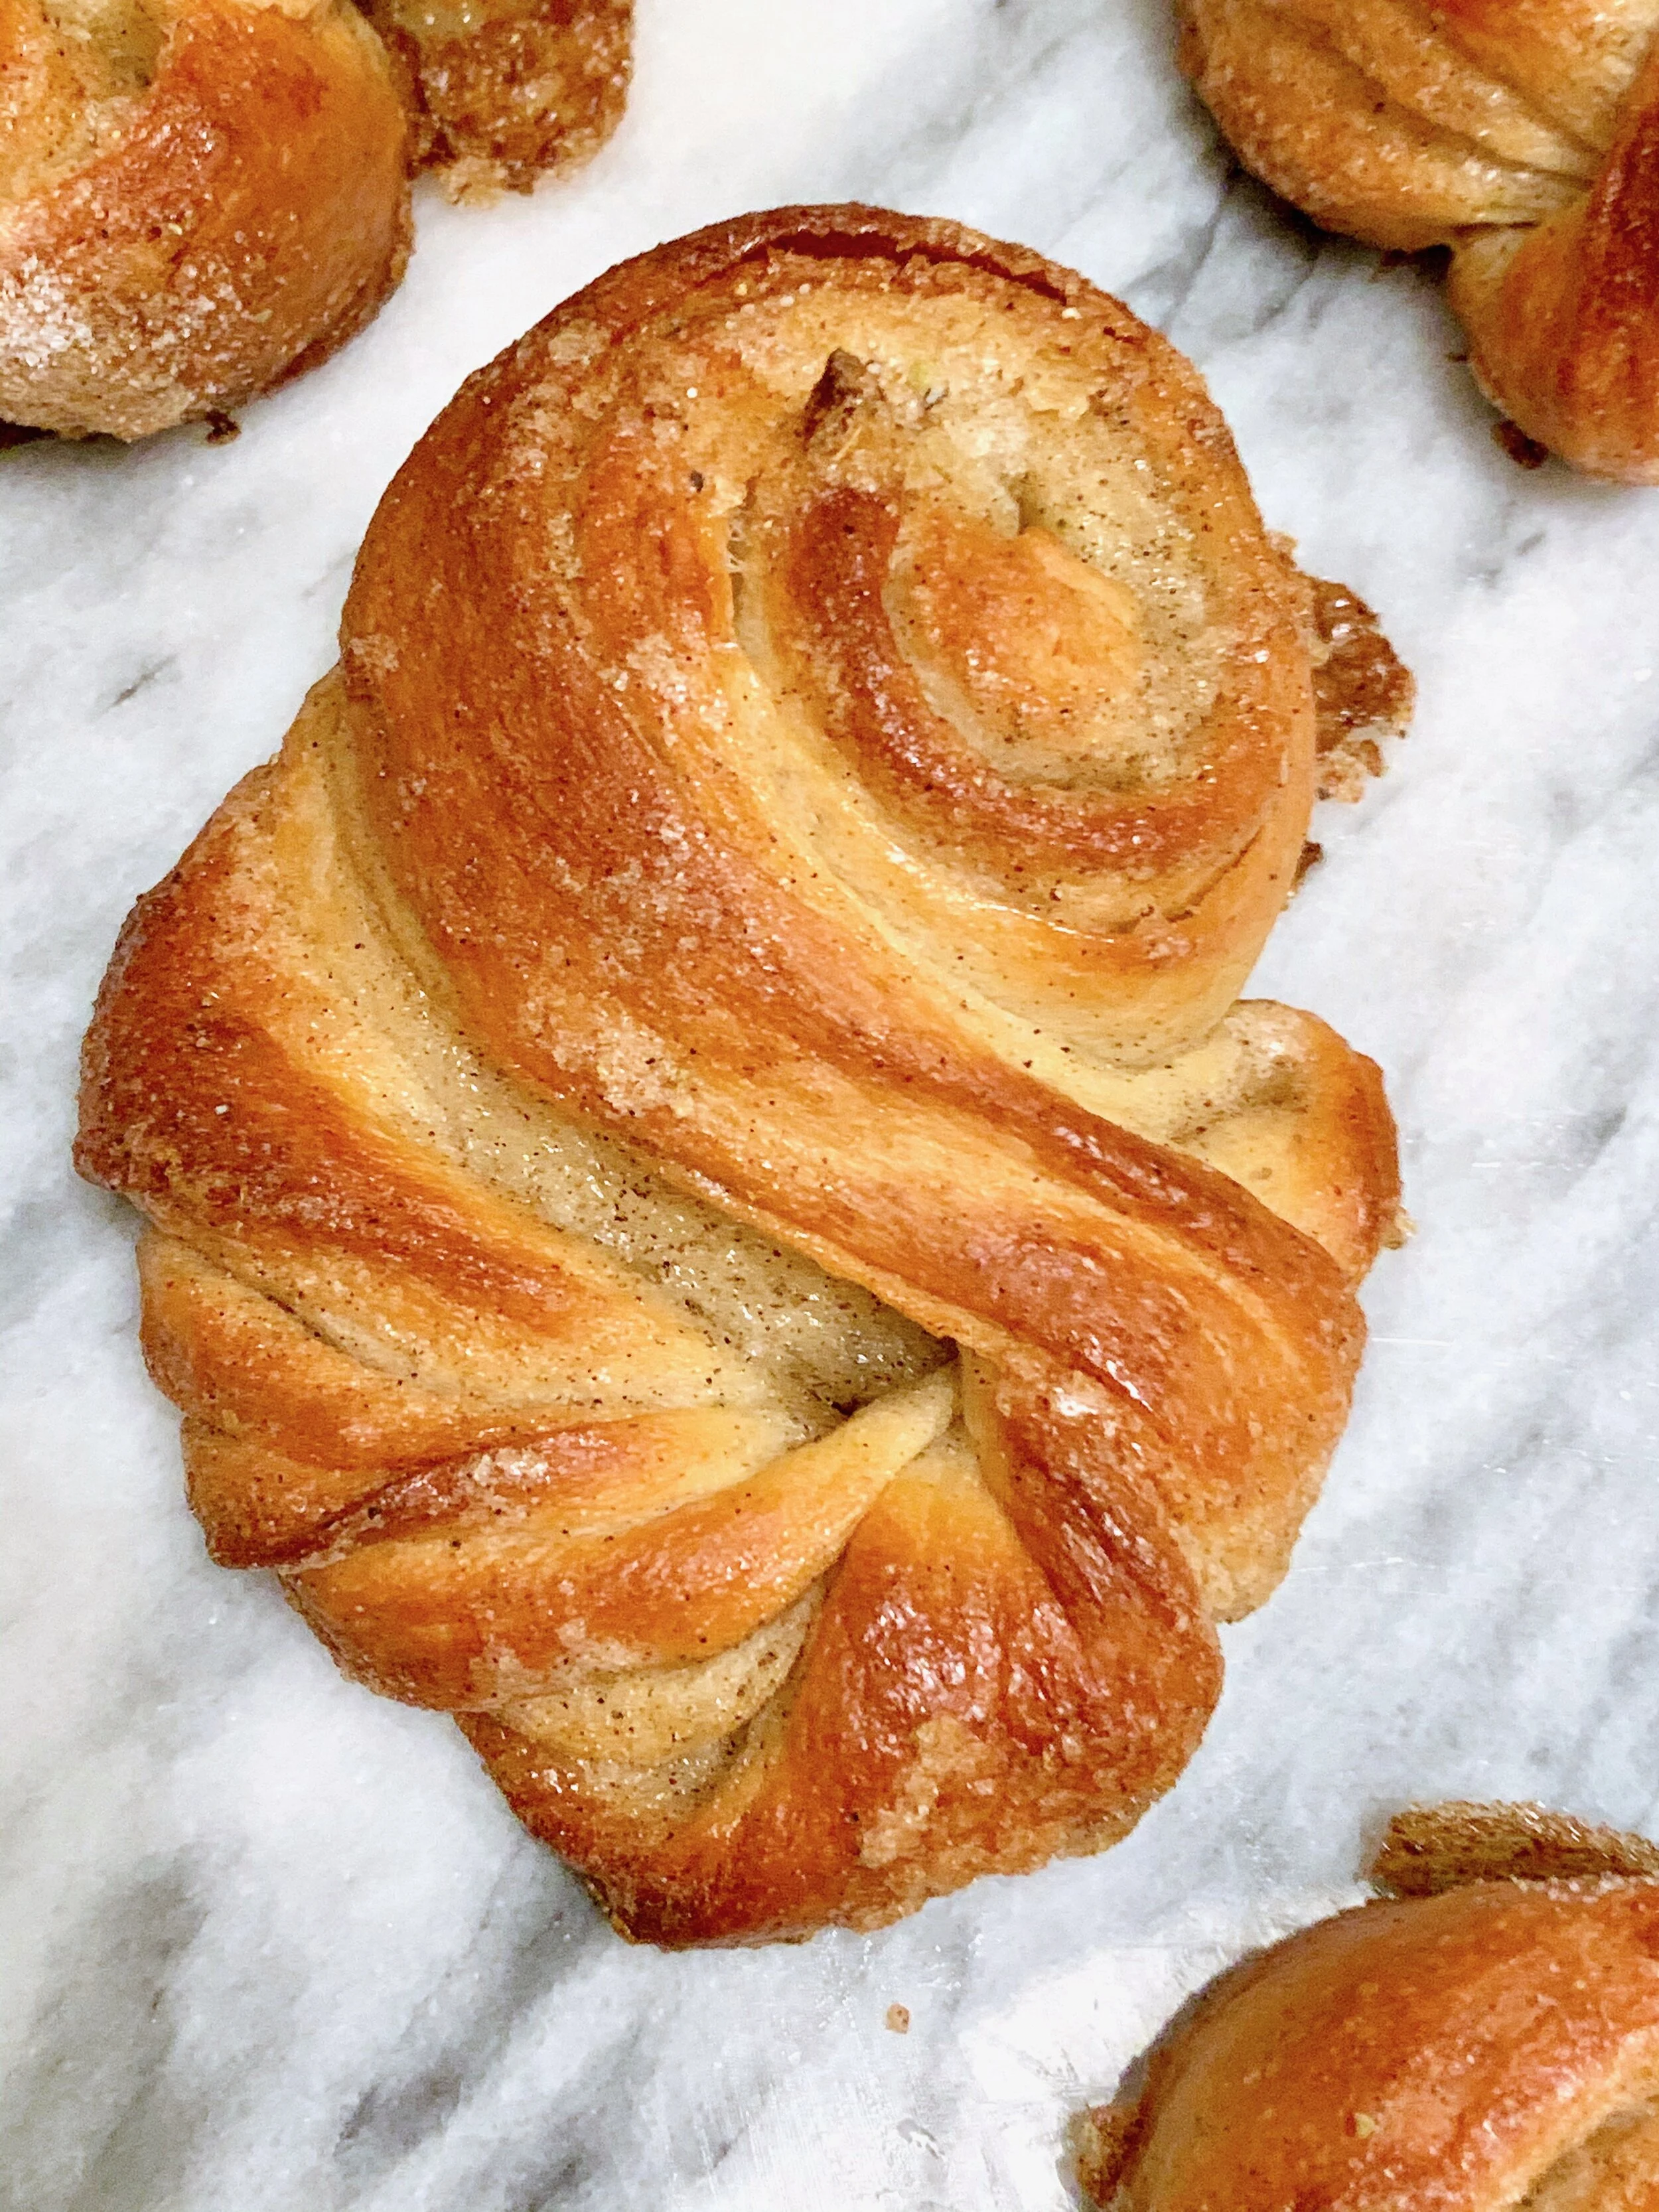
I should point out that this is NOT how they are supposed to look! Check out the recipe below for a picture perfect image of the classic look of the bun. While in the oven, a few of mine opened up into this spiral, but – after the initial shock and momentary frustration – I realized they were so pretty that they were the only ones I ended up photographing! If you don’t want this to happen to yours make sure you press your ends well into the bun when done shaping.
I’m sure there are countless recipes out there, but one I used was from New York Times Cooking. One of my go-to sources for trusted recipes that are rated by fellow readers. And someday I’ll get to Fabrique, the Swedish pastry shop in NYC (and of course Stockholm) to try the originals that took New York City by storm.
Swedish Cardamom Buns Recipe:
https://cooking.nytimes.com/recipes/1020437-swedish-cardamom-buns
Don’t be intimidated by the number of steps. It makes it look complicated but the recipe does a great job of walking you through it all. Just allow time, work slowly and you’ll be rewarded with these gorgeous (both in look and flavor) treats.
A few tips for success:
The recipe calls for A LOT of cardamom. People in the comments on the Times cooking site question it endlessly. Trust the recipe. I followed the indicated amounts exactly and I thought it was perfect.
Make sure the butter for your filling is soft enough to be spreadable, but not too soft or it will ooze EVERYWHERE when you start making the individual buns. They'll still taste good but your bun shaping experience will be a serious mess. I say this from experience.
The recipe has great step-by-step instructions but they are not visual. I watched a couple of YouTube videos to get the technique down for getting the classic shape of the bun. And even then there’s room for error as I mentioned at the beginning of this post. There are many videos available, here’s a simple one to get you started.
I used a silicon pastry rolling mat and pizza cutter when it came time to roll and cut the dough. The measurements on the mat are really helpful since you want the strips of dough to be as even as possible, and a quick pass with the pizza wheel made cutting the dough a breeze. Just don’t press too hard or you’ll cut your mat like I did. I’m sure a pastry wheel with straight not fluted edges would work too.
Once you’ve shaped your dough, make sure your edges are pressed together or they’ll unravel when baked. This happened to me on some of them. Fortunately they’re still beautiful - I even posted my “mistakes” to instagram - but you’ll lose the traditional shape. See how mine started off…
I experimented with a flat wrap on the top and a twisted wrap on the top. The Twisted gave me those S spirals, the flat stayed more in the traditional shape.


